ConnectLink can be integrated with the Lead object in Salesforce. There are a few different ways it functions, depending on the settings you enable in the ConnectLink Setup tab. Let’s run through what each of the three settings does and the different configuration options.
Enable Leads
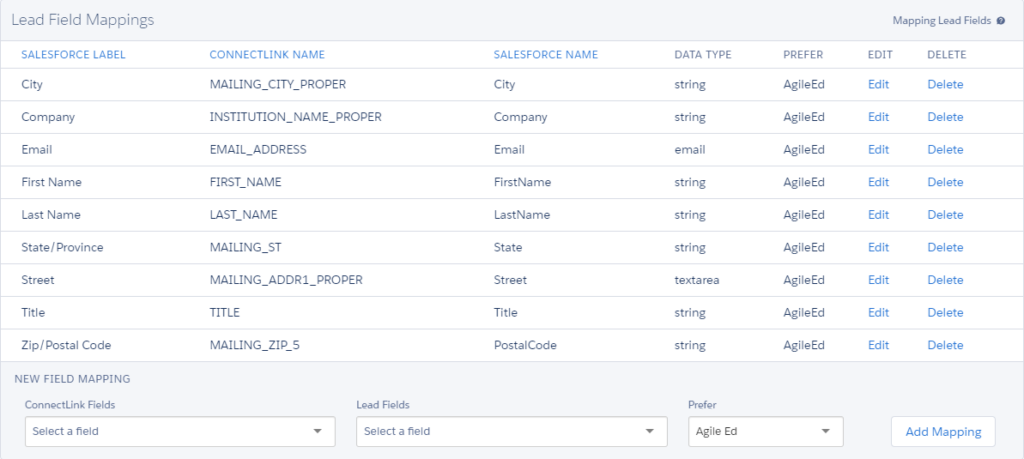
By default, Leads are disabled. If you enable Leads in the Settings menu, the integration will enrich Leads with a ConnectLink Key during updates. A new section for mapping Lead fields appears at the bottom of the page.
This section is used to map fields in the Lead object that you’d like to update from your Agile data license. Note: In addition to personnel fields, many institution fields are available to map for Leads.
New Educators As
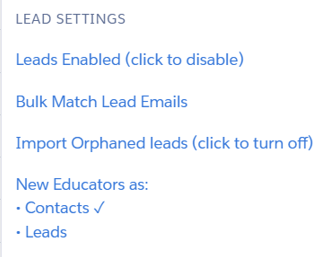
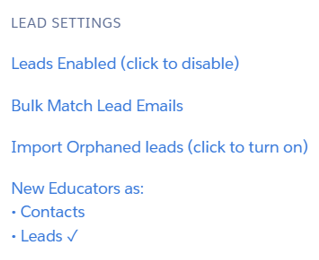
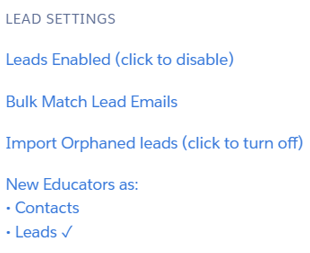
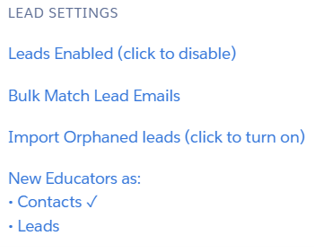
If new educators are allowed and Leads are enabled, the ‘New Educators As’ section appears at the bottom of the settings list. The checkmark indicates whether new personnel will be inserted as Contacts or Leads. By default, it will be set to Contacts. Click the setting to toggle between the two.
Insert Orphaned Leads
If new educators are allowed and Leads are enabled, the ‘Insert Orphaned Leads’ option is added to the Settings menu. An orphaned Lead is one that is not related to an existing account.
If this setting is on, the integration will create an orphaned Lead if the account doesn’t exist. If the account already exists, it will follow the ‘New Educators As’ setting to create a related record.
Four Lead Configuration Options
There are four ways to configure the Lead settings, depending on your company’s desired flow of prospects.
1. Import prospects as Contacts if an associated Account exists; otherwise, insert as orphaned Leads.
2. Import prospects as Leads associated to Accounts, do not import orphaned Leads.
3. Import prospects as Leads associated to an Account if the Account exists and orphaned Leads if the Account does not exist.
4. Import prospects as Contacts if an associated Account exists, don’t import prospects if Account doesn’t exist, and update Leads with an existing ConnectLink Key.
Converting Orphaned Leads
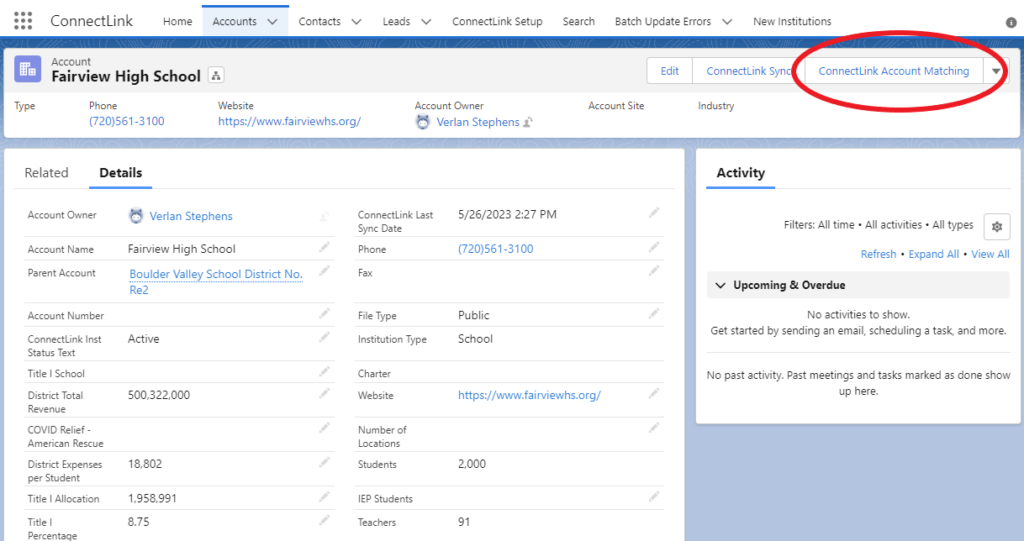
Once you have converted a Lead, you’ll need to click on the ConnectLink Account Matching button so that you can sync this new Account with the Agile database.
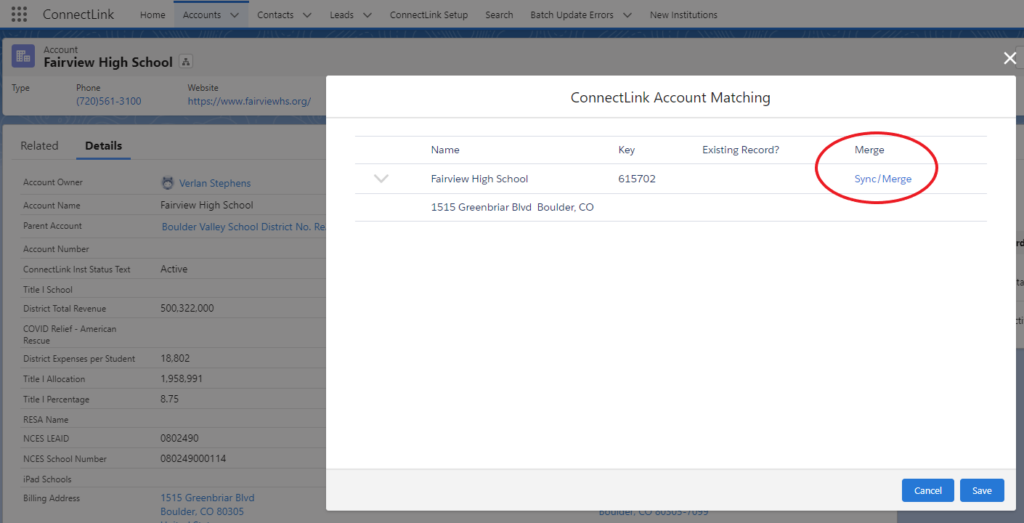
Select the correct school or district and click Sync/Merge to assign the ConnectLink Key and update the information. The ConnectLink Key will be assigned, and the Account will be synced, all personnel will be loaded for that Account as Leads or Contacts (depending on your setting configuration).